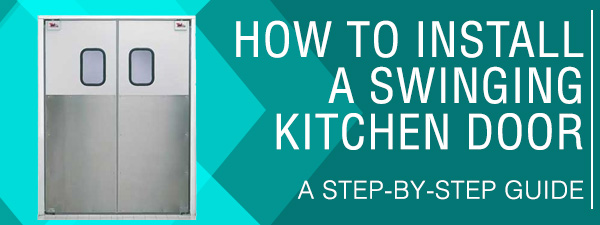
How to Install a Swinging Kitchen Door: Step-by-Step Guide
- Feb 4, 2025
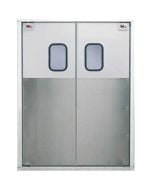
Installing a swinging kitchen door is a practical and straightforward task, especially when you follow the detailed instructions and maintenance guide provided with your Curtron SERVICE-PRO™ Swinging Door. Whether you're installing a SERIES 20 or SERIES 30 model with the E hinge, you can expect a smooth installation process with the right tools and a bit of preparation. Here’s your step-by-step guide to get your swinging kitchen door up and running.
Preparation
Before beginning the installation, make sure your doorway is ready for the door:
- Check the Jamb and Lintel: The jamb and lintel must be square and plumb. Make sure the doorway is at least 4 1/2” wide and that the construction is sturdy. For best results, ensure the framing is double 2”x 4” or equivalent. Hollow metal jambs should be reinforced at hinge locations to support the door’s weight.
- Get Help If Needed: Depending on the door type and hinge configuration, you may need a second person to assist with the installation.

Installation Steps
Step 1: Remove Covers
Start by removing both side covers from the top hinge.

Step 2: Remove Bolts
Take off the two nuts and bolts securing the top hinge cam plate.

Step 3: Remove the 'L' Bracket
Unscrew the 'L' bracket from the top hinge assembly.

Step 4: L Bracket Placement
Place the "L" bracket in the center of the top corner. Mark the 6 mounting holes. Drill the holes (7/32'' for steel, 3/16'' for wood) and mount the bracket with the screws provided.

Step 5: Lower Hinge Pin Bracket
Place on the lower corner of the jamb, ensuring the bracket pin is plumb with the top cam rod. Mark the 6 mounting holes.

Step 6: Drill Mounting Holes
Drill Mounting Holes. Floor holes may require anchors and bolts (not provided). Mount the bracket with the screws provided.

Step 7: Door Positioning
Place the door so the lower pin receptacle sits on the pin attached to the bottom "L" bracket. Then, position the top hinge assembly to rest on the top of the cam bar.

Step 8: Secure Nuts and Bolts
Replace the two nuts and bolts, but do not fully tighten until the door panel is completely aligned. See step 9 for final adjustments.

Step 9: Door Alignment
Adjust the door panel front-to-back and side-to-side for proper positioning. Loosen screws (including set screws) on the bottom hinge saddle to fine-tune alignment, then tighten all screws and bolts. Finally, replace the two side covers.

Shipping Information
While shipping isn’t free, it’s because we take extra care to ensure your swinging kitchen door arrives undamaged. We prioritize safe delivery, so you can trust your product will be in perfect condition.
After purchase, you’ll receive an email with a Curtron Door Form for accurate measurements and a Rapids Shipping and Delivery Disclosure to help you prepare and ask the right questions to the freight company. Both forms must be completed and signed before processing your order. Since these doors are custom-made and non-returnable, we recommend measuring twice and ordering once!
Maintenance Tips for Your Swinging Kitchen Door
To ensure that your Curtron SERVICE-PRO™ Swinging Door operates smoothly for years to come, regular maintenance is key. Here are some maintenance tips to follow every six months:
- Inspect the Door and Seals: Visually check for any cuts, tears, or signs of wear.
- Lubricate Hinges: Remove the hinge covers and apply wheel-bearing grease (don’t over-grease) to the hinges.
- Clean the Door and Gaskets: Clean the door panel and gaskets with a mild dishwashing detergent solution (1 part detergent to 50 parts water). Avoid harsh chemicals.
- Window Cleaning: Clean the door window with mild soap or all-purpose cleaner, ensuring to dry it with a soft cloth.
- Examine Hardware: Check hinges, impact plates, and kick plates for any loose attachments and tighten them as needed.
By following these installation and maintenance steps, you can enjoy smooth and long-lasting operation from your Curtron SERVICE-PRO™ Swinging Door.